> ## Documentation Index
> Fetch the complete documentation index at: https://docs.leapter.com/llms.txt
> Use this file to discover all available pages before exploring further.
# Generate with AI
> Create a Blueprint by describing your business logic in natural language — Leapter generates the visual flow for you.
The fastest way to create a Blueprint is to describe what you need in plain language. Leapter's AI reads your description, generates a structured specification, and builds a complete, executable Blueprint — including inputs, outputs, decision logic, and all the connecting elements.
## How it works
### Step 1: Open the Create Blueprint page
When you open an empty project — one with no Blueprints yet — Leapter takes you straight to the **Create a Blueprint** page, which has a prompt field in the center.
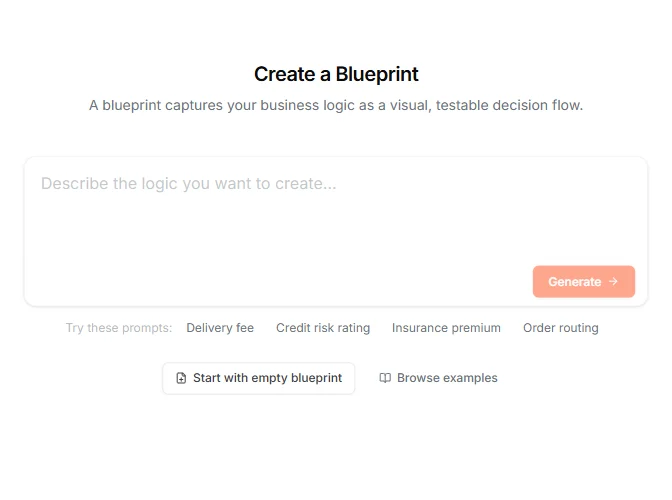 If you don't have an empty project yet, create one from the [Projects page](/fundamentals/projects).
### Step 2: Describe your logic
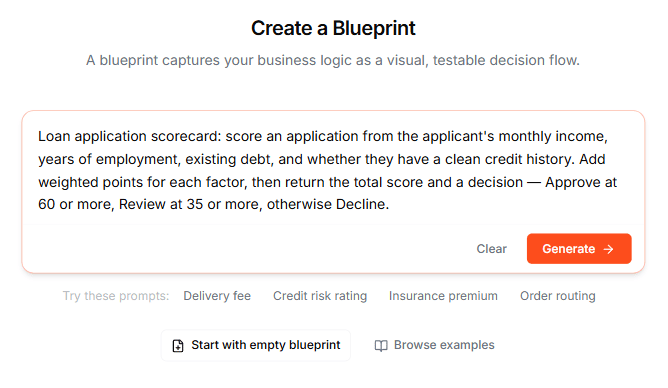
Type a natural language description of the logic you want to build into the text area. Be as specific as you can — include the conditions, calculations, input values, and expected outputs.
For example:
> Loan application scorecard: score an application from the applicant's monthly income, years of employment, existing debt, and whether they have a clean credit history. Add weighted points for each factor, then return the total score and a decision — Approve at 60 or more, Review at 35 or more, otherwise Decline
If you're not sure where to start, click one of the **Try these prompts:** suggestions below the prompt field. These fill in a ready-made description you can use as-is or edit to fit your needs:
* **Delivery fee** — distance-based pricing with discounts and surcharges
* **Credit risk rating** — scoring logic based on financial criteria
* **Insurance premium** — rate calculation with age and coverage factors
* **Order routing** — conditional routing based on order properties
If you don't have an empty project yet, create one from the [Projects page](/fundamentals/projects).
### Step 2: Describe your logic
Type a natural language description of the logic you want to build into the text area. Be as specific as you can — include the conditions, calculations, input values, and expected outputs.
For example:
> Loan application scorecard: score an application from the applicant's monthly income, years of employment, existing debt, and whether they have a clean credit history. Add weighted points for each factor, then return the total score and a decision — Approve at 60 or more, Review at 35 or more, otherwise Decline
If you're not sure where to start, click one of the **Try these prompts:** suggestions below the prompt field. These fill in a ready-made description you can use as-is or edit to fit your needs:
* **Delivery fee** — distance-based pricing with discounts and surcharges
* **Credit risk rating** — scoring logic based on financial criteria
* **Insurance premium** — rate calculation with age and coverage factors
* **Order routing** — conditional routing based on order properties
 ### Step 3: Generate the Blueprint
Click the **Generate** button. Leapter processes your description through several steps — you'll see a progress indicator showing the current stage, such as "Naming elements" or "Structuring code", and a row of dots that fills in as each stage completes.
### Step 3: Generate the Blueprint
Click the **Generate** button. Leapter processes your description through several steps — you'll see a progress indicator showing the current stage, such as "Naming elements" or "Structuring code", and a row of dots that fills in as each stage completes.
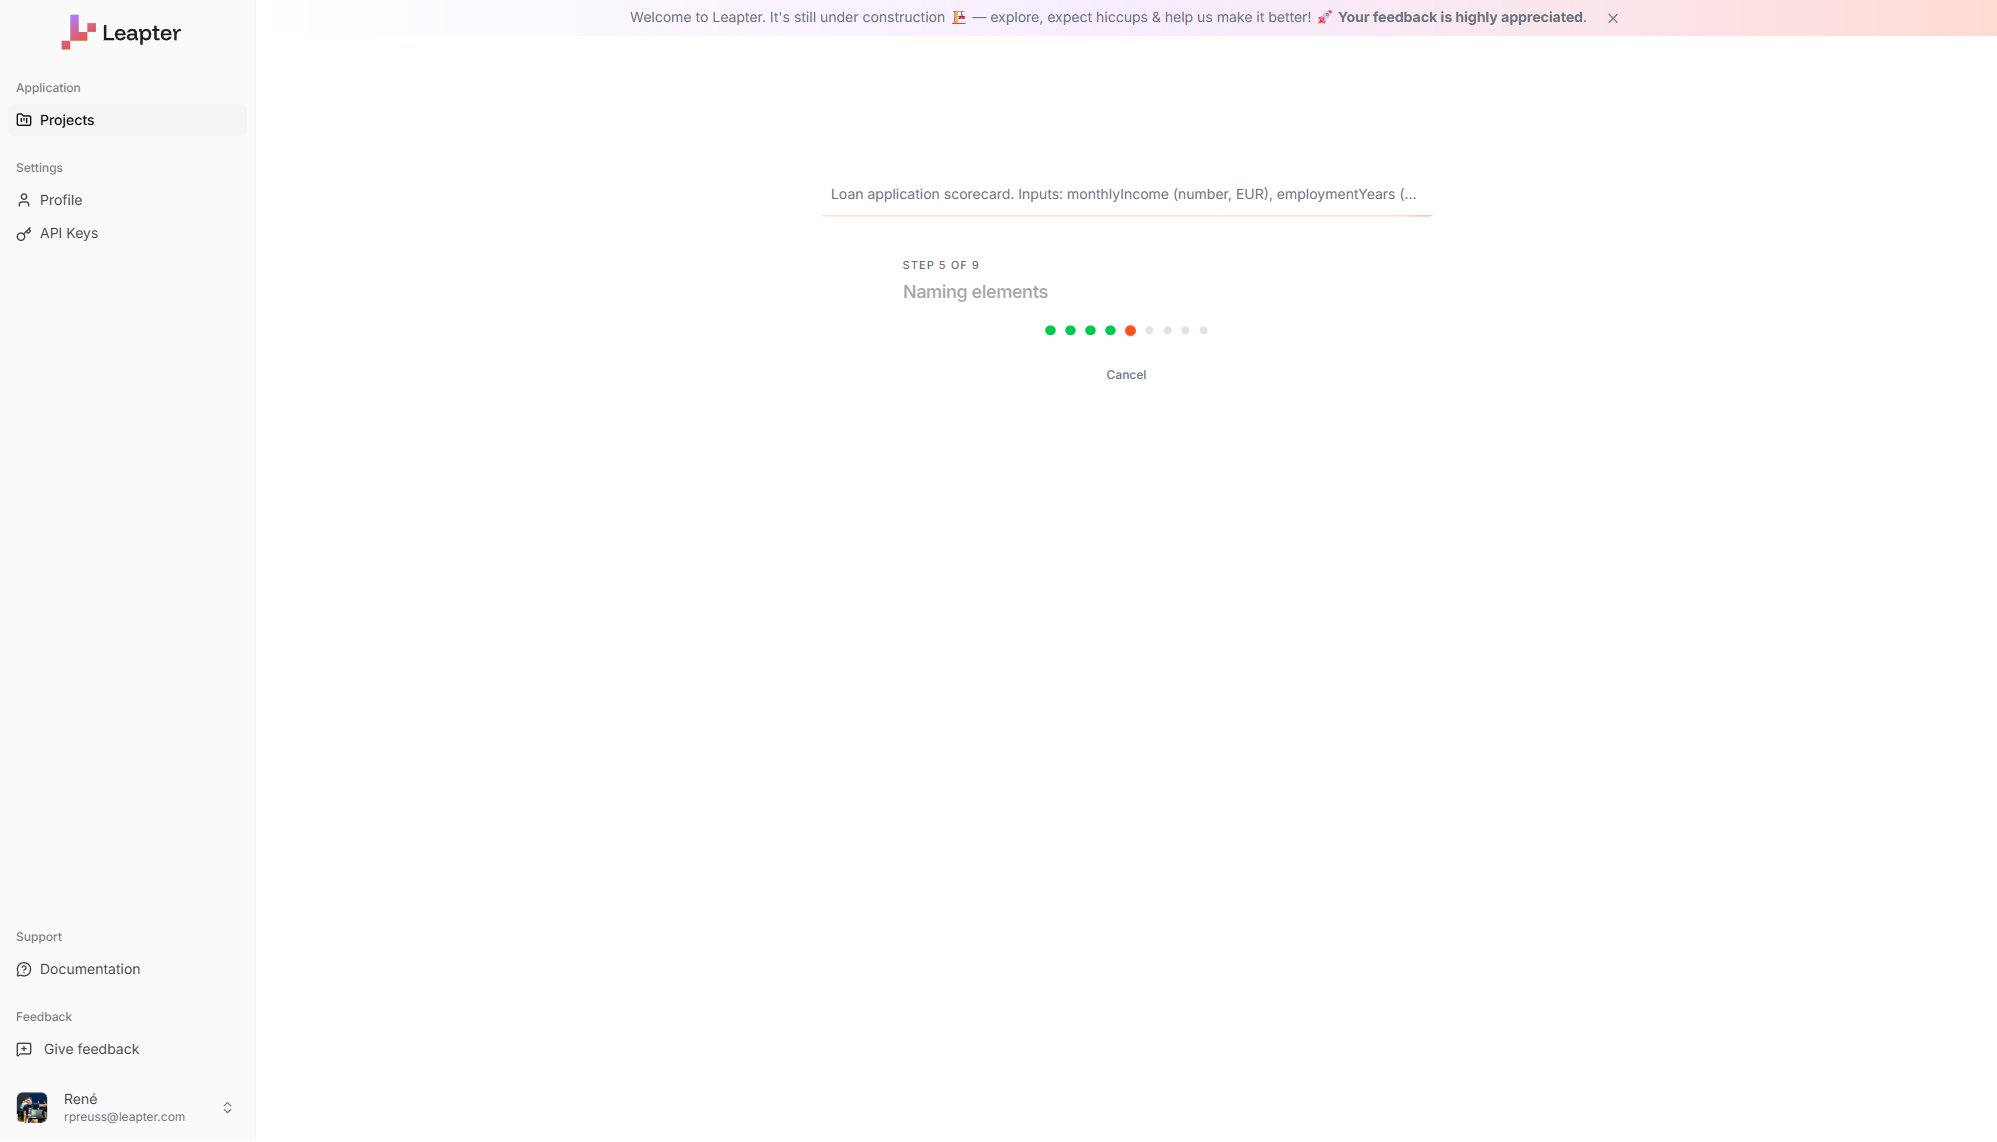 The generation typically takes 15–30 seconds. You can click **Cancel** at any time to stop the process.
### Step 4: Review the result
Once generation completes, you land directly in the [Blueprint Editor](/fundamentals/leapter-canvas/introduction) — the project opens in the [Specification view](/fundamentals/leapter-canvas/specification-view) with the generated Blueprint and its diagram embedded inline. Your Blueprint is ready to inspect and run.
The generation typically takes 15–30 seconds. You can click **Cancel** at any time to stop the process.
### Step 4: Review the result
Once generation completes, you land directly in the [Blueprint Editor](/fundamentals/leapter-canvas/introduction) — the project opens in the [Specification view](/fundamentals/leapter-canvas/specification-view) with the generated Blueprint and its diagram embedded inline. Your Blueprint is ready to inspect and run.
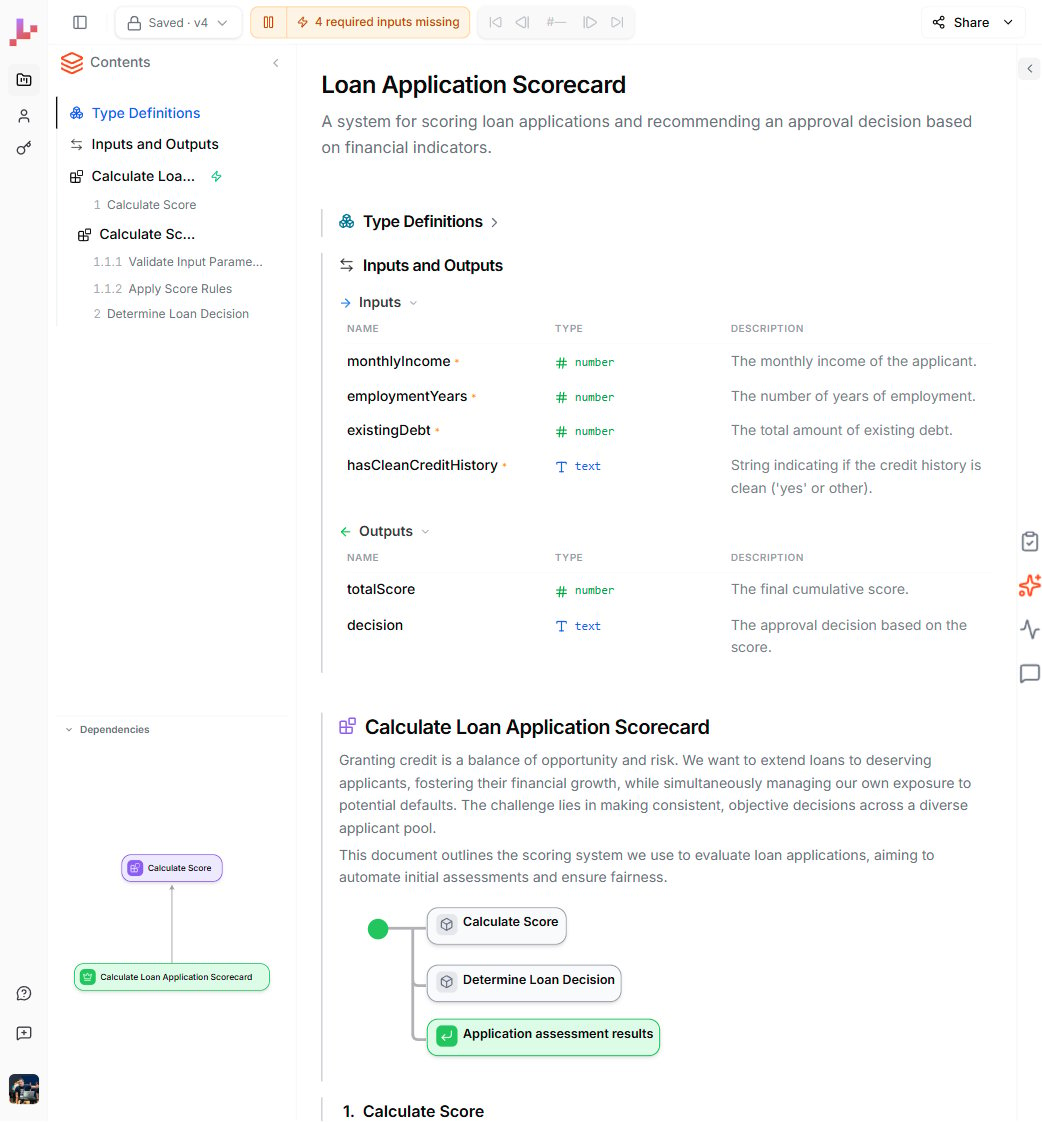 The AI generates a complete Blueprint with:
* **Input parameters** — the data your Blueprint needs to run (for example: `monthlyIncome`, `employmentYears`, `existingDebt`, `hasCleanCreditHistory`)
* **Output parameters** — the results your Blueprint returns (for example: `totalScore`, `decision`)
* **Decision nodes** — conditional branches that route the flow based on your rules
* **Assignment nodes** — calculations that compute values
* **Call nodes** — reusable sub-blueprints for modular logic (when the logic is complex enough)
## Tips for better results
* **Be specific about conditions.** "Approve when the total score is 60 or more" generates better logic than "approve strong applicants."
* **Name your inputs and outputs.** If you mention "the applicant's monthly income" and "the final decision", the AI picks up those as parameter names.
* **Include edge cases.** Mention what should happen in boundary situations — for example, "if existing debt is over 10,000, subtract 20 points."
* **Start simple, then iterate.** You can always [edit the Blueprint with AI](/fundamentals/change-your-blueprint/ai-editing) after generation to add more conditions or adjust the logic.
## What to do next
After generation, you'll typically want to:
1. **[Test your Blueprint](/fundamentals/test-your-blueprint)** — click the green play button on the Start node to run it with sample inputs and verify the outputs.
2. **Refine the logic** — use [inline editing](/fundamentals/change-your-blueprint/inline-editing) to adjust individual nodes, or [AI editing](/fundamentals/change-your-blueprint/ai-editing) to make broader changes.
3. **[Deploy it](/executing-blueprints/introduction)** — once you're satisfied, connect your Blueprint via REST API, MCP, or export it as code.
The AI generates a complete Blueprint with:
* **Input parameters** — the data your Blueprint needs to run (for example: `monthlyIncome`, `employmentYears`, `existingDebt`, `hasCleanCreditHistory`)
* **Output parameters** — the results your Blueprint returns (for example: `totalScore`, `decision`)
* **Decision nodes** — conditional branches that route the flow based on your rules
* **Assignment nodes** — calculations that compute values
* **Call nodes** — reusable sub-blueprints for modular logic (when the logic is complex enough)
## Tips for better results
* **Be specific about conditions.** "Approve when the total score is 60 or more" generates better logic than "approve strong applicants."
* **Name your inputs and outputs.** If you mention "the applicant's monthly income" and "the final decision", the AI picks up those as parameter names.
* **Include edge cases.** Mention what should happen in boundary situations — for example, "if existing debt is over 10,000, subtract 20 points."
* **Start simple, then iterate.** You can always [edit the Blueprint with AI](/fundamentals/change-your-blueprint/ai-editing) after generation to add more conditions or adjust the logic.
## What to do next
After generation, you'll typically want to:
1. **[Test your Blueprint](/fundamentals/test-your-blueprint)** — click the green play button on the Start node to run it with sample inputs and verify the outputs.
2. **Refine the logic** — use [inline editing](/fundamentals/change-your-blueprint/inline-editing) to adjust individual nodes, or [AI editing](/fundamentals/change-your-blueprint/ai-editing) to make broader changes.
3. **[Deploy it](/executing-blueprints/introduction)** — once you're satisfied, connect your Blueprint via REST API, MCP, or export it as code.