What this creates
The HTTP Workflow is a 4-node n8n workflow:Export the workflow
- Open your Blueprint in the editor.
- Click the Share button in the toolbar.
- Select n8n.
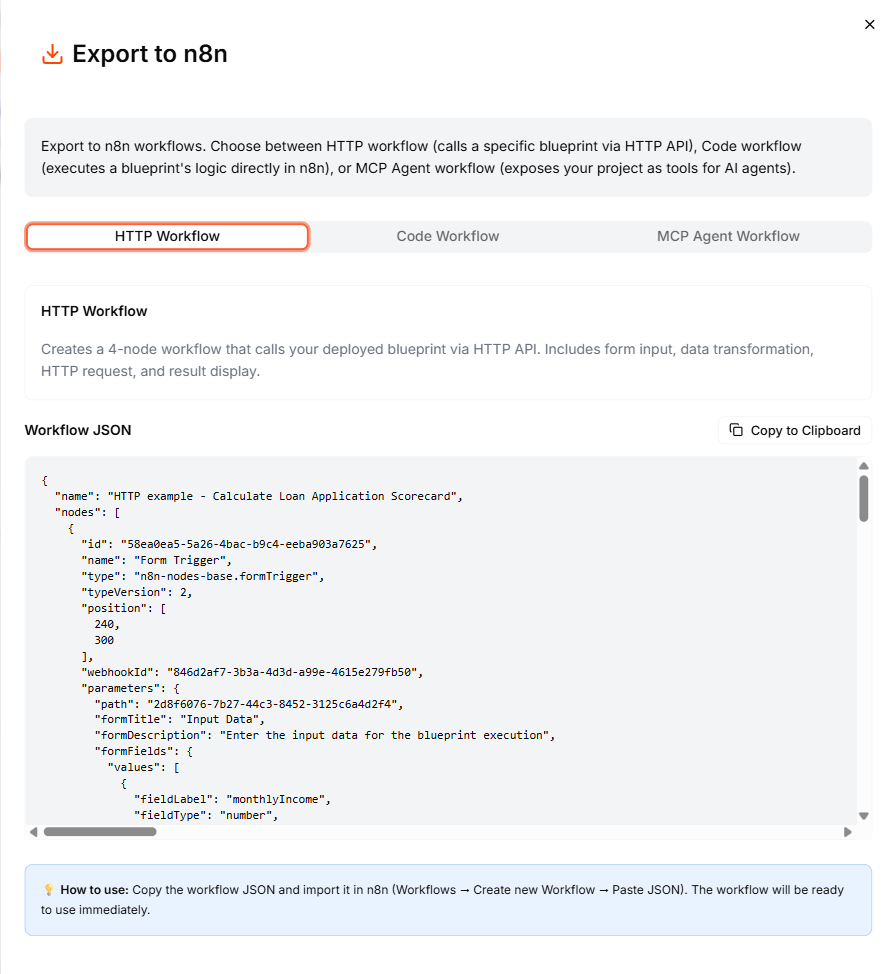
- In the Export to n8n dialog, select the HTTP Workflow tab.
- Click Copy to Clipboard.
Import into n8n
- Open your n8n instance.
- Create a new workflow.
- Click the three-dot menu (or use Ctrl+V / Cmd+V) and select Import from clipboard.
- The 4-node workflow appears on the canvas.
Configure the API key
The HTTP Request node needs your API key to authenticate with Leapter:- Open the HTTP Request node.
- In the Authentication section, add a Header Auth credential.
- Set the header name to
X-API-Keyand the value to your API key. - Save the credential.
Run the workflow
- Click Test Workflow to run it manually.
- Fill in the form with your test inputs.
- The workflow calls your Blueprint and displays the results in the final Form node.
What to do next
- Code Workflow — run your Blueprint logic directly in n8n without API calls
- MCP Agent Workflow — use your Blueprints as tools in an n8n AI agent
- Web API (OpenAPI) — learn more about the REST API the workflow calls