The Projects page
Click Projects in the left sidebar to open the Projects page. This is also the first screen you see after logging in. Each project appears as a card showing:
You can search for projects by name using the search bar, or use Filters to narrow the list.
The ⋮ menu on each card has Edit Project, Share Project, Export Project, and Delete Project entries — Share Project opens the share dialog directly (see Sharing).
Create a project
Click Create New in the top-right corner of the Projects page. The Create a Project page opens.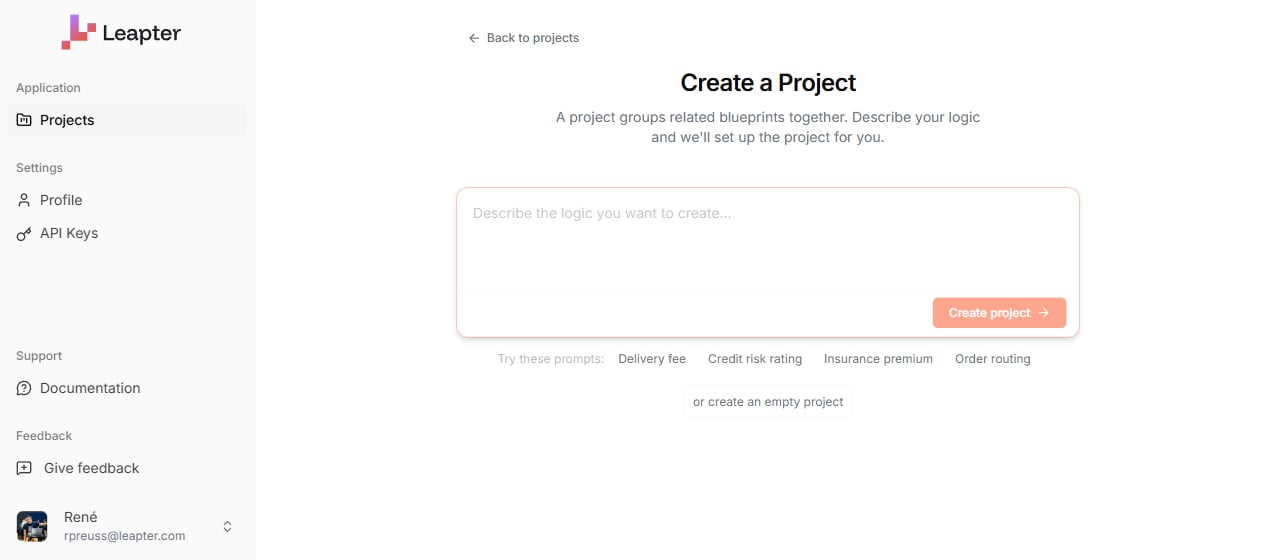
- Describe your logic and let AI set up the project. Type a description of what you want to build, then click Create project. Leapter creates the project, generates the Blueprints needed for the logic, and opens the editor.
- Create an empty project. Click or create an empty project below the prompt field. Enter a Project name (required) and an optional Description, then submit. Leapter creates the project and takes you straight to the Create a Blueprint page so you can add your first Blueprint.
Open a project
Click a project card to enter it. The project opens directly into the Blueprint Editor — you see the Specification view with all the project’s Blueprints listed in the Contents sidebar and their diagrams embedded inline. There is no separate “blueprint list” page inside a project. To switch between Blueprints, use the Contents sidebar; to focus on one, double-click it to maximize. To add a new Blueprint, use the + affordance in the editor.Delete a project
- Find the project on the Projects page.
- Click the three-dot menu on the project card.
- Select Delete Project.
What to do next
- Generate with AI — create your first Blueprint by describing your logic in natural language
- From Example Template — start from a pre-built example Blueprint
- From Scratch — create an empty Blueprint and build it yourself