How to create a Blueprint from a template
Step 1: Open the Create Blueprint page
When you open an empty project — one with no Blueprints yet — Leapter takes you straight to the Create a Blueprint page. If you don’t have an empty project, create one from the Projects page.Step 2: Find the templates
Three example templates are available on the Create a Blueprint page. How they appear depends on which way you got there:- First Blueprint in a project — the templates are visible inline at the bottom of the page, under an OR START WITH AN EXAMPLE divider, alongside the Start with empty blueprint button.
- Adding a Blueprint to an existing project — the templates are hidden behind a Browse examples button. Click it to reveal the cards (the button label flips to Hide examples).
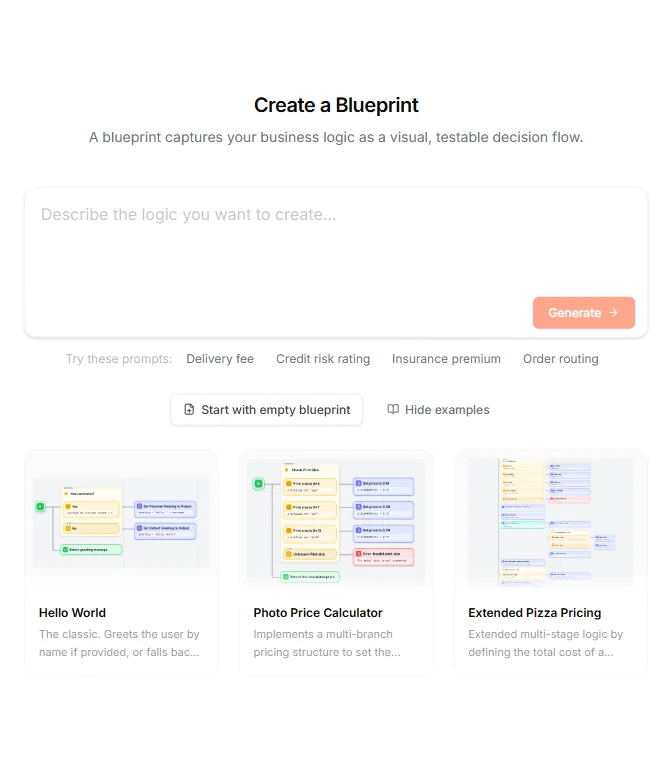
- Hello World — greets the user by name if provided, or falls back to a default “Hello, World!” message using simple conditional logic
- Photo Price Calculator — implements multi-branch pricing to set the price per photo based on its size, including handling for unsupported dimensions
- Extended Pizza Pricing — multi-stage logic that calculates the total cost of a pizza order, incorporating conditional pricing for size, premium extras, promotional codes, and weekend surcharges
Step 3: Select a template
Click the card for the template you want to use. Leapter creates a copy of that Blueprint in your project and opens it in the Blueprint Editor. The Blueprint is fully yours — any changes you make only affect your copy, not the original template.Learning from templates
Templates are a great way to understand how Blueprints are built. When you open one, explore these areas:- Contents sidebar (left side) — see how the project is structured: Type Definitions, Inputs and Outputs, and the Blueprints
- Inputs and Outputs section — see how parameters are defined and what types they use
- Embedded diagram — follow the flow from the Start node through decision branches, assignments, and return nodes
- Maximized Diagram view — double-click a Blueprint in the Contents sidebar to fill the canvas with its diagram
What to do next
Once you’ve explored a template:- Test it — click the green play button to run it with sample inputs and see the outputs.
- Modify it — change a condition, add a new branch, or adjust a calculation to see how the Blueprint responds. Use inline editing or AI editing.
- Build your own — when you’re ready, go back to your project and generate a Blueprint with AI or start from scratch.