

Switch workspaces
The workspace switcher sits at the bottom of the left sidebar, showing the current workspace’s name. Click it to see every workspace you belong to and switch between them — the sidebar and Projects page update to the workspace you pick.Create a workspace
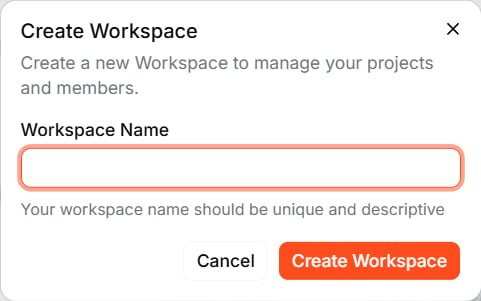
- Click the workspace switcher at the bottom of the sidebar.
- Select Create a Workspace.
- Enter a Workspace Name — something your members will recognize.
- Click Create Workspace.
Invite members
- Switch to the workspace you want to manage.
- Click Members in the settings sidebar.
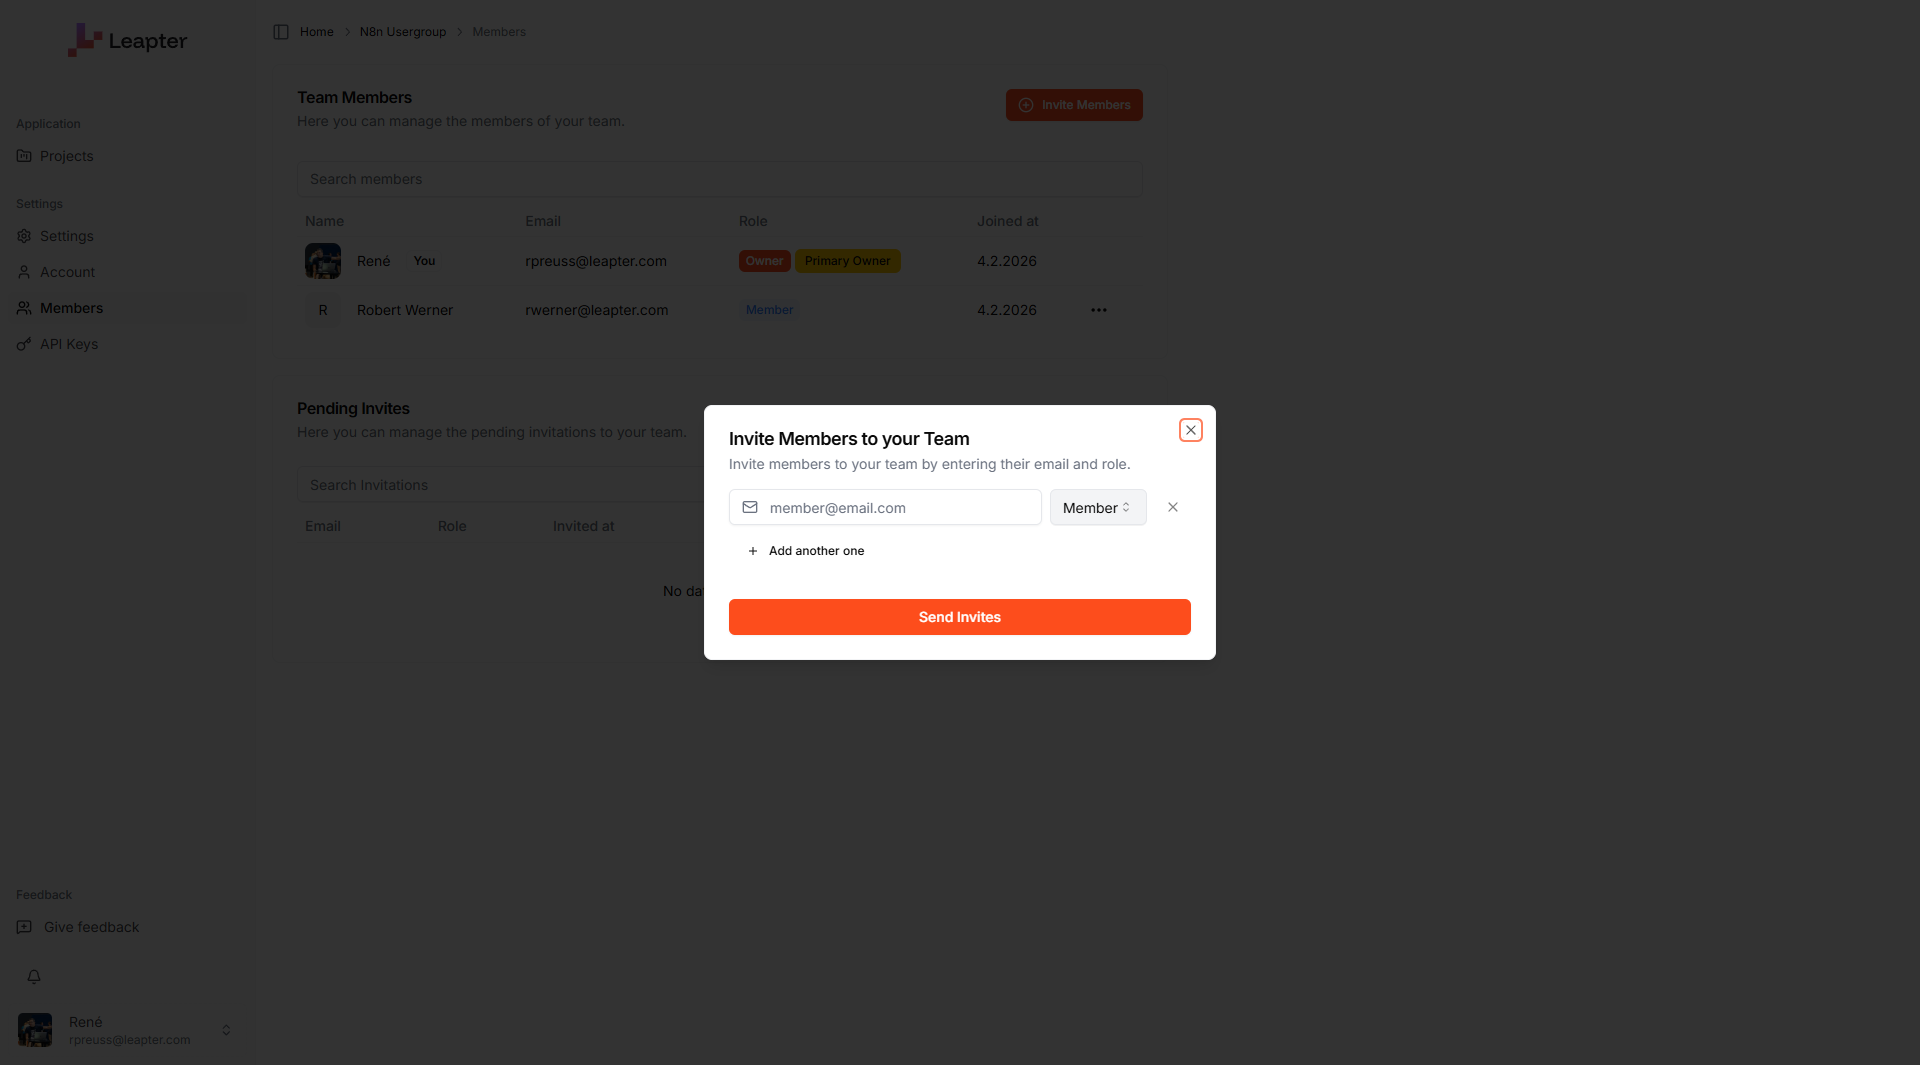
- Click Invite Members.
- Enter the member’s email address.
- Select a role: Owner or Member.
- Click Send Invites.
Manage members
The Members page lists everyone in the workspace: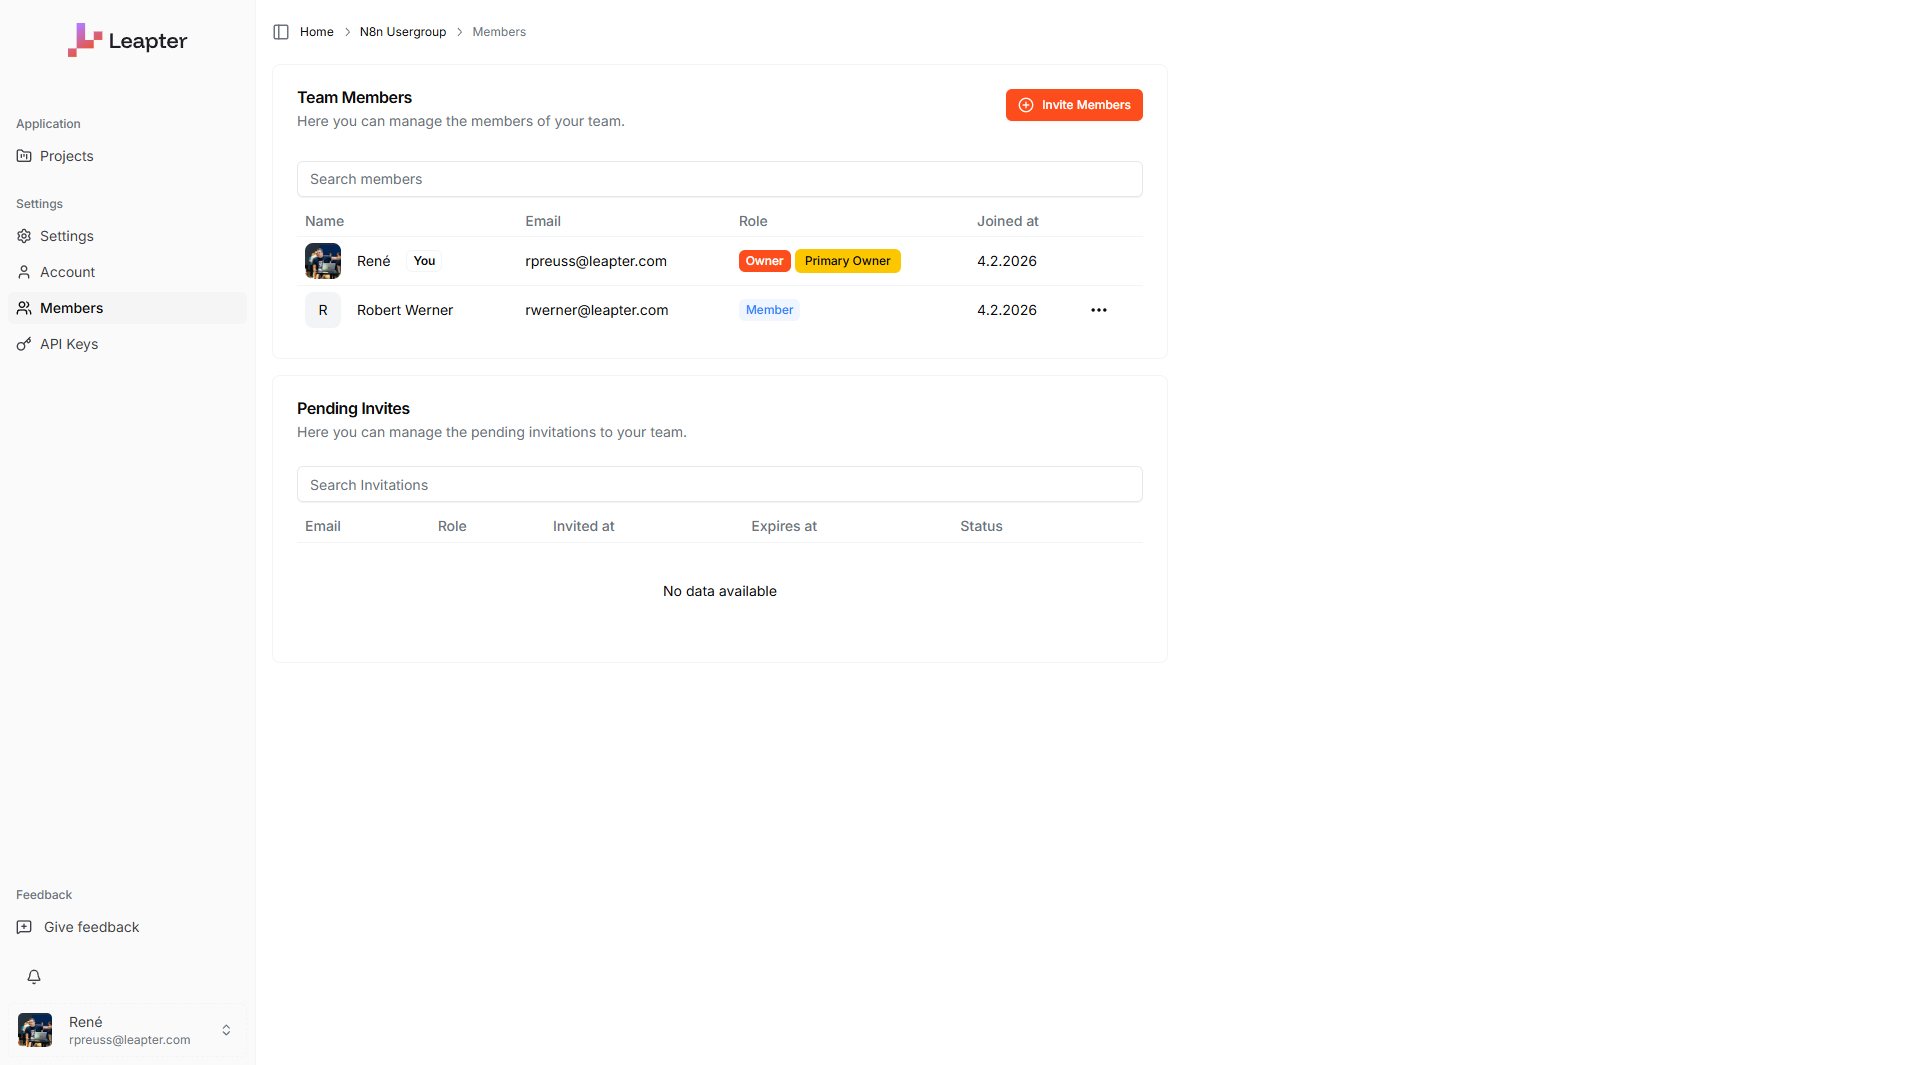
Below the table, Pending Invites shows invitations that haven’t been accepted yet, with their status and expiry.
Roles
The person who creates a workspace is its Primary Owner. Changing the workspace’s name or logo is restricted to owners.
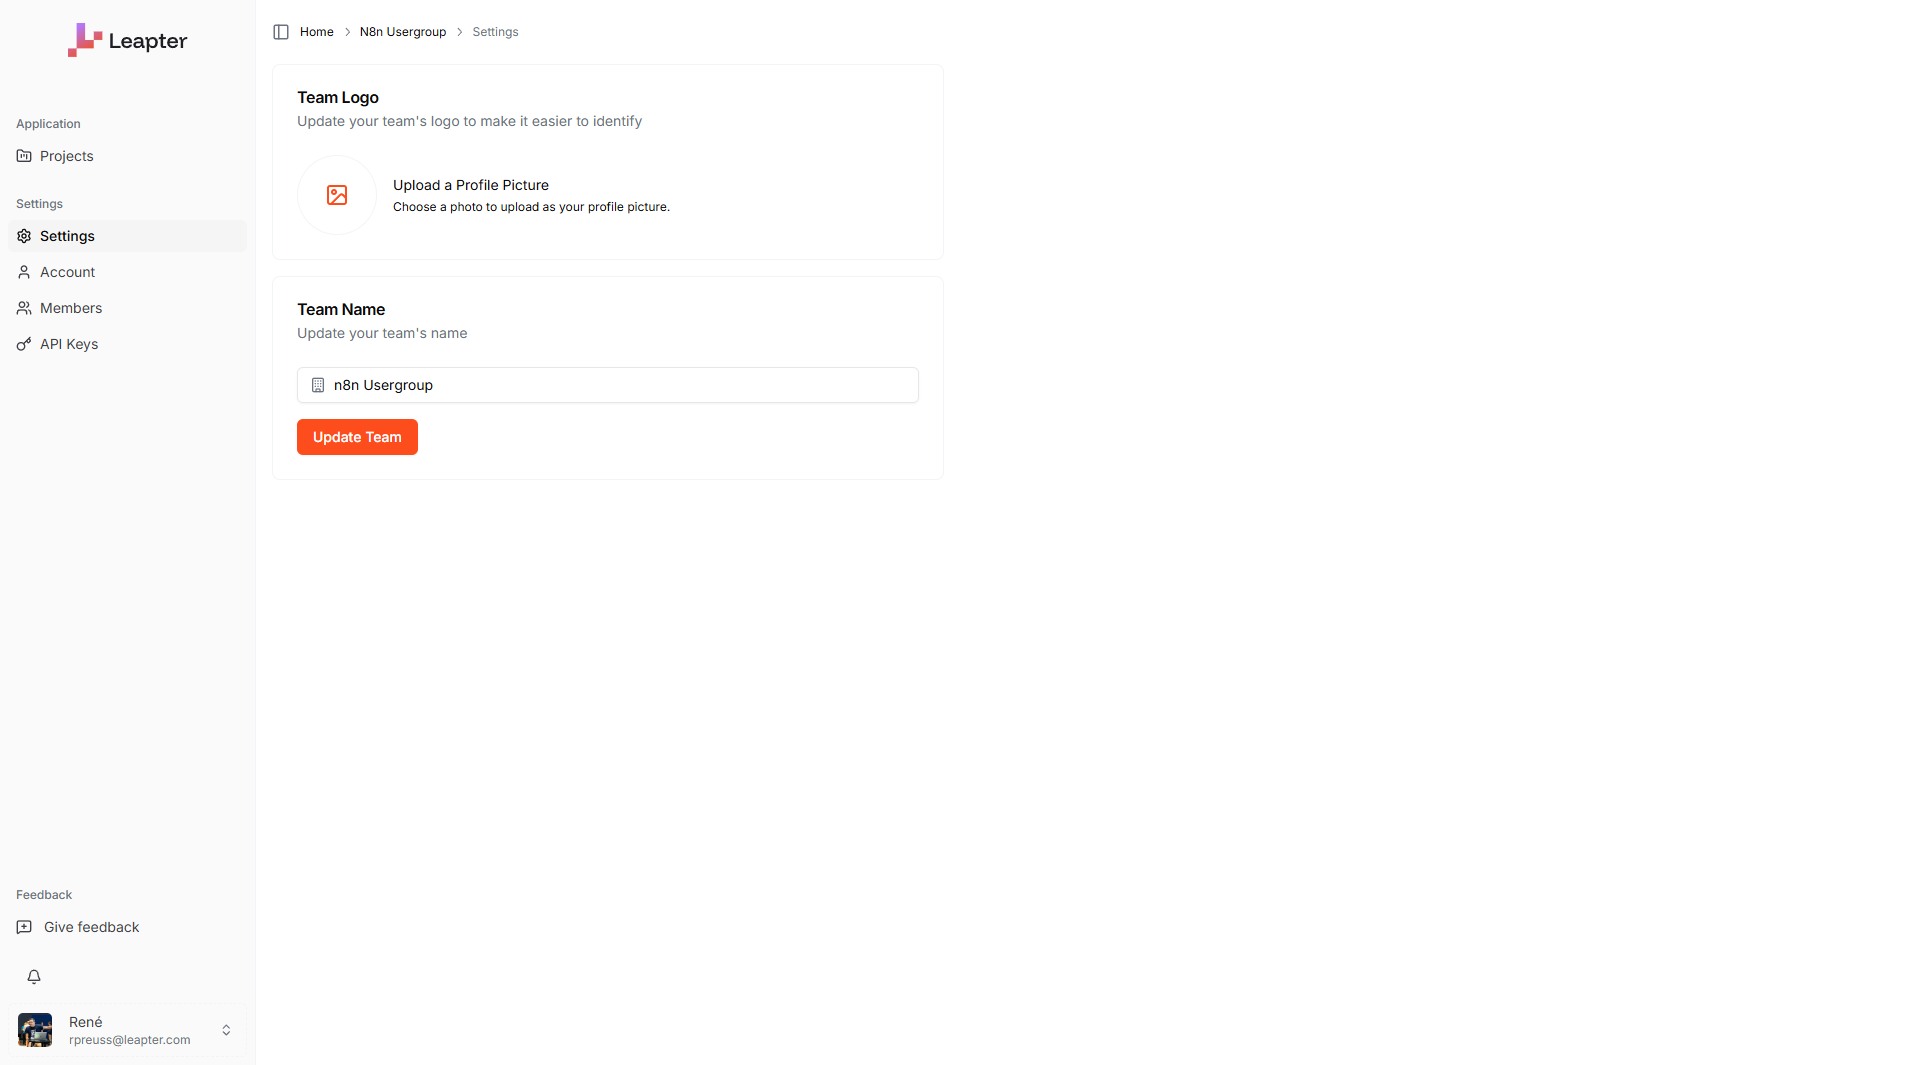
Workspace settings
Click Settings in the sidebar to manage the workspace’s identity (owners only):- Workspace Name — the display name shown in the switcher
- Workspace Logo — an image to make the workspace easy to recognize
What to do next
- Collaborating — work together on shared Blueprints with comments
- Integrations — connect external tools for the Lab Agent to use
- Sharing — share a project read-only with someone outside the workspace
- Personal Profile — update your own display name and picture