

Describe your logic
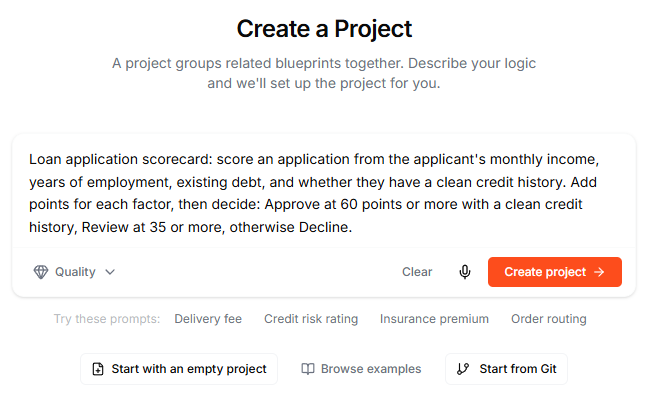
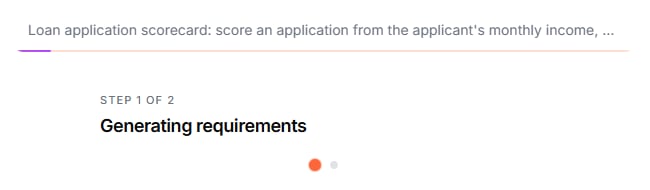
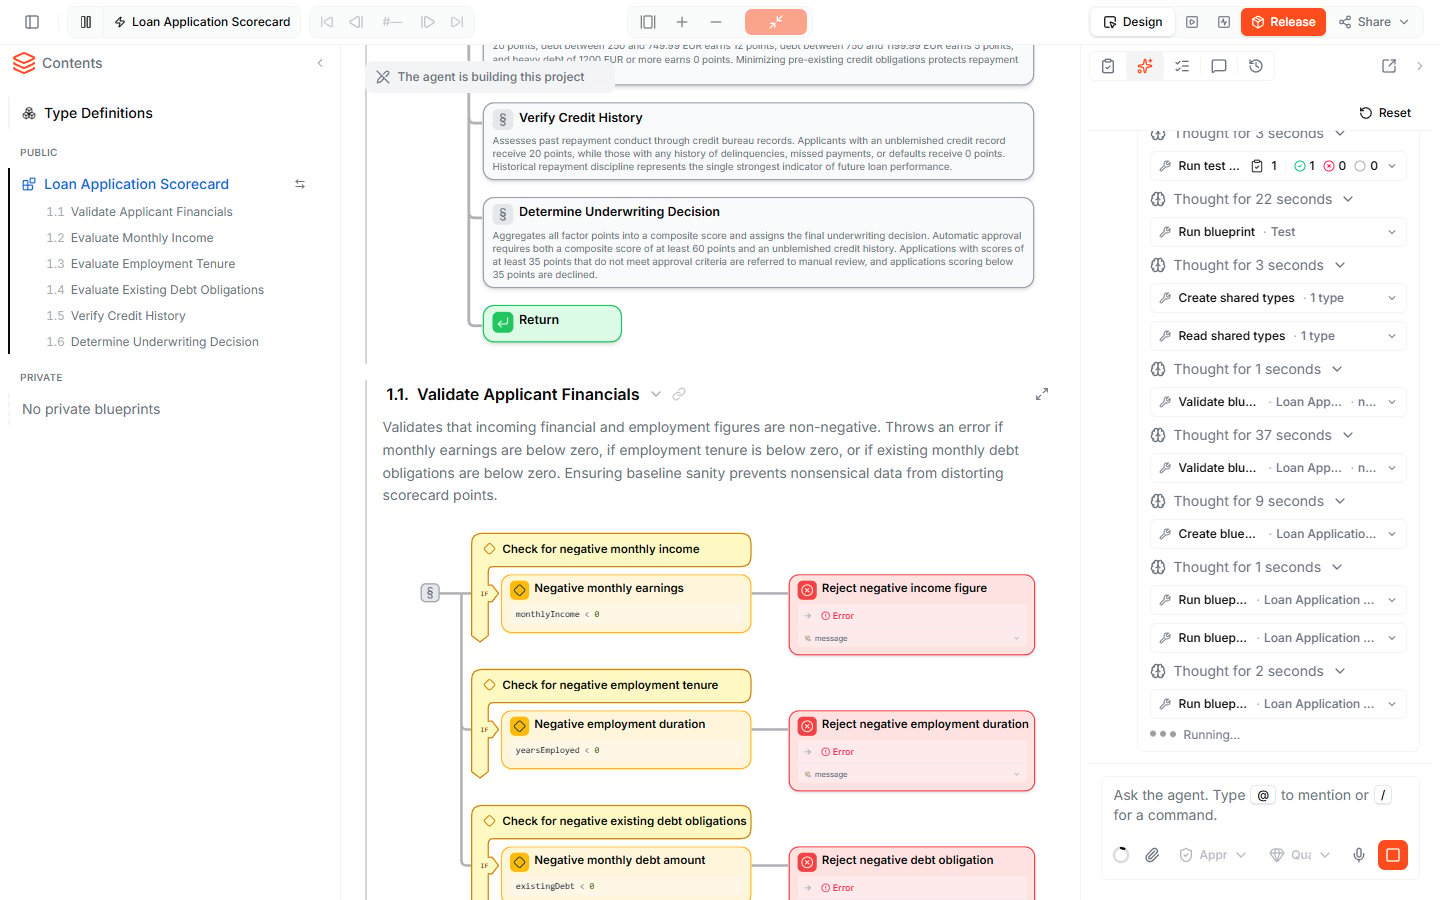
The fastest way to start is to describe what you need in plain language. The Lab Agent turns your description into a complete project: the Blueprints, their inputs and outputs, shared types, the decision logic, and a test suite.-
Type your description into the prompt field. Be as specific as you can — name the inputs, the rules, and the results you expect. For example:
Loan application scorecard: score an application from the applicant’s monthly income, years of employment, existing debt, and whether they have a clean credit history. Add points for each factor, then decide: Approve at 60 points or more with a clean credit history, Review at 35 or more, otherwise Decline.
Not sure where to start? Click one of the Try these prompts: suggestions — Delivery fee, Credit risk rating, Insurance premium, or Order routing — to fill in a ready-made description you can use as-is or edit. You can also click the microphone (Start voice input) and speak your description. - Optionally, pick a model in the picker below the prompt. Quality is the default and reasons most carefully; Speed and Instant are faster for simpler logic.
- Click Create project.
Tips for a good description
- Be specific about conditions. “Approve at 60 points or more” builds better logic than “approve strong applicants”.
- Name your inputs and outputs. If you mention “the applicant’s monthly income” and “the final decision”, the agent uses them as parameter names.
- Include edge cases. Say what should happen at the boundaries — for example, “if the existing debt is above 20,000 EUR, subtract 5 points”.
- Start simple, then iterate. You can keep refining the project with the Lab Agent after it is built.
Start from an example
Click Browse examples to see ready-made projects, such as a credit risk scoring model or a tour of error handling. Use the arrows to page through them, and click an example to create your own copy. Leapter creates a new project with the example’s Blueprints and opens its main Blueprint.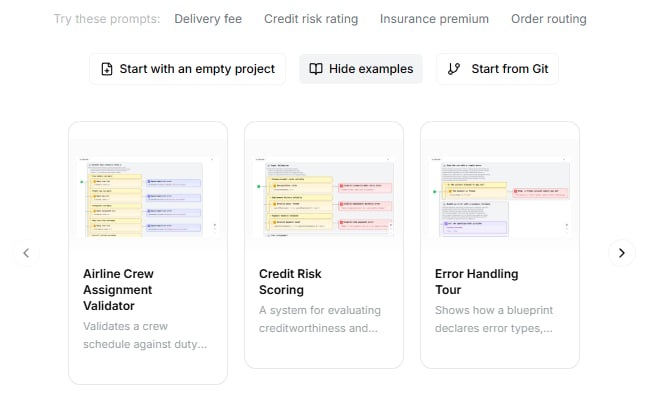
Start with an empty project
Click Start with an empty project to create a project with a single blank Blueprint. Leapter names the project Untitled project and opens the blank Blueprint in the Diagram view, ready for you to build — by hand or with the Lab Agent. To rename the project, click its title at the top of the document and type a new name.Start from Git
Click Start from Git to create a project from a GitHub repository that already contains a Leapter project. Leapter imports the repository’s default branch as the project’s main stream and keeps the project connected to the repository.Start from Git is available to workspace owners when GitHub is enabled for the workspace. GitHub integration is an Enterprise feature.
Import a project archive
To bring in a project someone exported from Leapter, click Import Project on the Projects page and upload the project archive (.leap.zip). Leapter creates a new project with all its Blueprints and settings. You get such an archive with Export in a project’s ⋮ menu on the Projects page or in the editor’s Share menu.
What to do next
- Test your Blueprint — run the new Blueprints with your own values and step through the results
- Lab Agent — keep refining the project by chatting with the agent
- Releases — release the project when it is ready for production