

Opening the agent
Open the Agent tab in the right sidebar of the editor.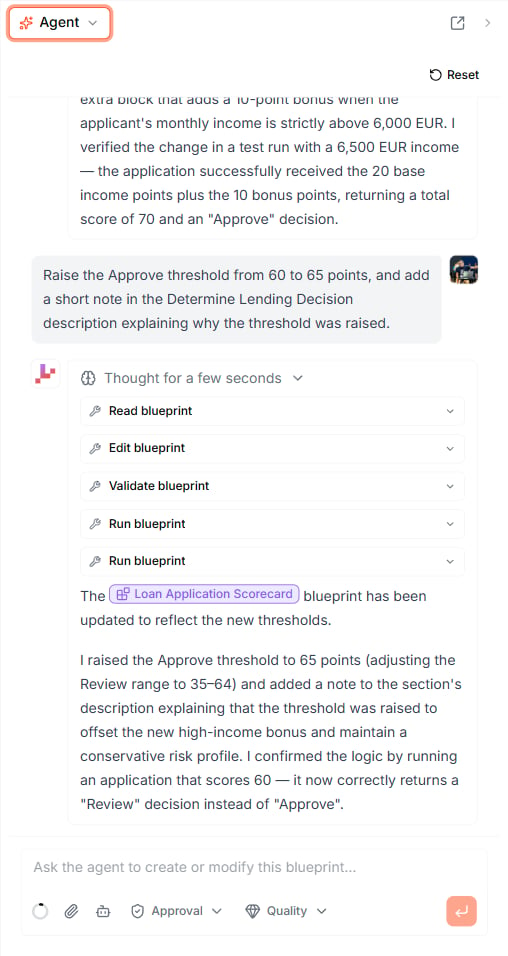
The Lab Agent works from a panel beside the canvas — here it takes a request, shows the steps it ran, and reports back referencing the Blueprint it changed.
Point the agent at something
@-mentions
To point the agent at something specific, @-mention it. Type@ in the composer and pick a Blueprint, a node, an input or output, a type, or a comment — it is inserted as an inline pill. The agent
also uses these pills in its replies, so there is no ambiguity about which element it means.
Point the agent at a node with Ctrl+I
Click a node, section, or element on the canvas and press Ctrl+I (Cmd+I on Mac). The node is dropped into the agent’s composer as a pill, so you can ask for a change to exactly that element — for example “round this to two decimals” or “add an else branch that declines” — without describing which one you mean.Commands
Type/ in the composer to see the commands:
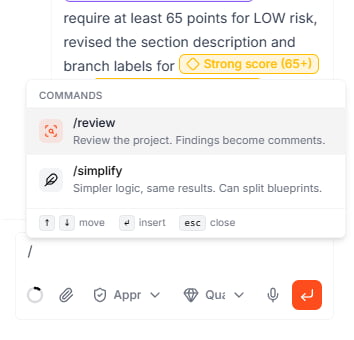
/review also checks that your descriptions still match the logic — use it before you share a project, so the specification your readers see matches what runs.
Choosing how it works
Two controls in the composer shape how the agent behaves:
A context-usage indicator next to these controls shows how much of the conversation window is in
use; long chats compact automatically so you can keep going.
Reviewing and applying changes
In Approval mode, the agent makes its edits in a draft and asks you to review them when it is done. The document shows what changed, the Diff Summary at the bottom lists every change from Main → Agent draft, and the agent’s message ends with Review agent changes: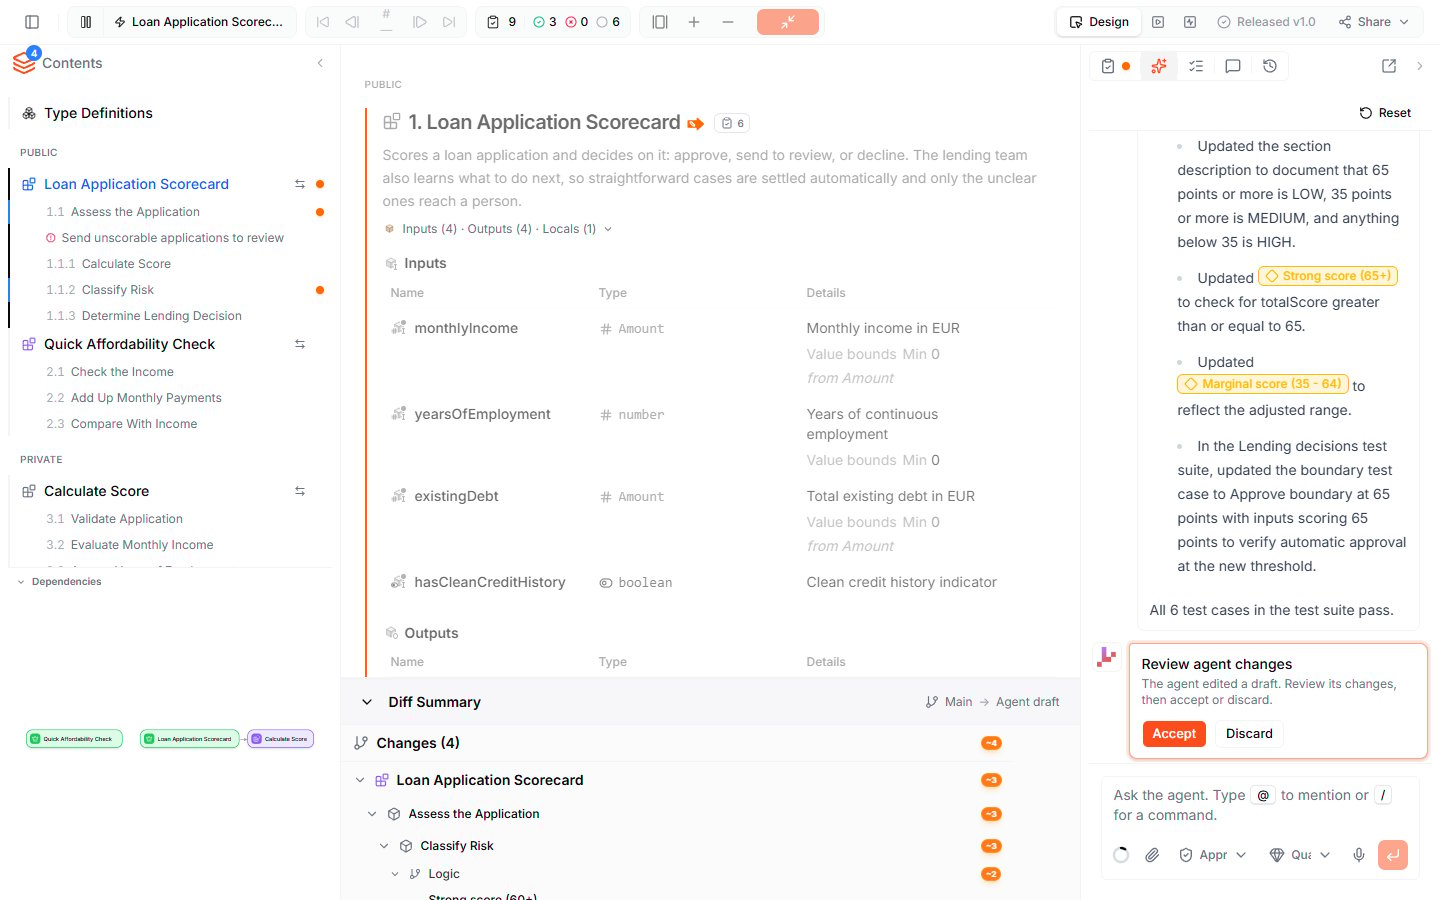
- Click Accept to apply the changes.
- Click Discard to drop them and leave your logic untouched.
Attachments
Click the paperclip (Attach file) to add a PDF or an image (PNG, JPEG, WebP) to a message — hand the agent a requirements document, a spec, or a screenshot of a rules table and ask it to turn it into logic.Ask about Leapter itself
The agent can also answer questions about how Leapter works. It searches this documentation, reads the relevant pages, and links to them in its answer — for example “How do I make a Blueprint available through the REST API?”Work with the project’s history
The agent can read the project’s Timeline: it lists changes and drafts, compares versions, and reports on reviews and releases. Ask it to “restore the version from before the threshold change”, and it restores that version — in Approval mode, you review the restore like any other change.How the agent relates to other tools
Tips
- Be specific. “Set the Approve threshold to 65 points” beats “make it stricter.”
- Stay in Approval mode while you are learning what the agent does — you see every change before it lands.
- Let it test. Ask the agent to run your test suite after a change so it catches its own mistakes.
- @-mention to disambiguate when your project has several similarly named elements.
- Run
/reviewbefore you share a project, so descriptions and logic tell the same story.
What to do next
- Test Suites — have the agent auto-generate test cases for your Blueprint
- Playground — let the agent build an app to try your Blueprint
- Test your Blueprint — run your logic and step through the execution