

Public and private Blueprints
Every Blueprint in a project is either public or private:
A project can have several public Blueprints, so one project can offer several entry points. It needs at least one.
The Contents sidebar groups your Blueprints under Public and Private:
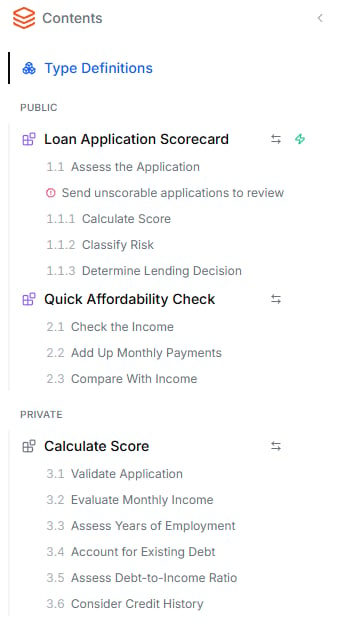
- Drag the Blueprint from one group to the other.
- In the Specification view, open the ⋮ menu on the Blueprint’s heading and choose Make public or Make private.
Visibility is part of the release. After you make a Blueprint public, create a new release so callers can reach it. Calling a Blueprint that is private in the latest release returns an error that asks you to make it public and release again.
Create a release
You create releases from the main stream. If you are working on a draft, apply it to main first. See Change Workflow.- Click Release in the top toolbar of the Blueprint Editor.
- Enter a Version name, for example
v1.0. The name must be unique within the project. - Optionally, add a Description of what changed in this version.
- Click Create release.
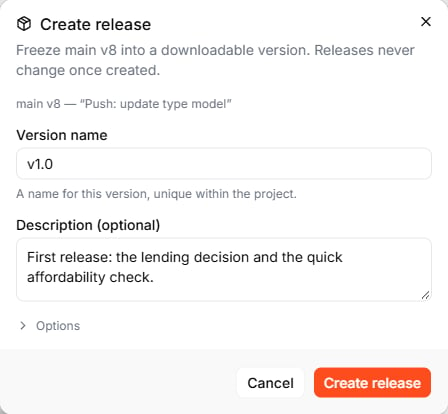
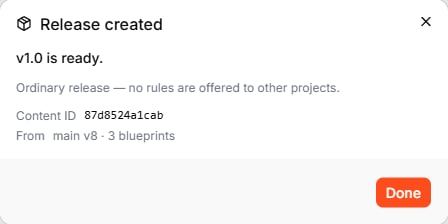
The Options section in the release dialog is for validation rule libraries. Leave it unchanged for a normal release.
What the Release button tells you
The Release button shows whether production is up to date:
If you try to release content that is already released, Leapter shows Already released and does not create a new release. Change something in the project first.
Which version runs where
Every production run records the release it ran on. You can filter by release in Insights.
A release never changes once it is created. To change what runs in production, edit the project and create a new release.
View and download releases
All releases of a project are listed in Insights → Releases. Each entry shows the version name and description, its Content ID, who created it and when, the project version it was created from, and the number of Blueprints. Click Download to save the release package.
What to do next
- Web API (OpenAPI) — call the public Blueprints of your latest release from any application
- AI Protocol (MCP) — let AI assistants use your public Blueprints as tools
- Insights — monitor how your release runs in production