Two kinds of type
Leapter has two flavors of type definition.Value Type
A Value Type is a constraint on a primitive value — a string with a specific format, a number in a range, or an enumeration of allowed values. Examples:Email— a string that looks like an email addressPercentScore— a number between 0 and 100Currency— an enum ofEUR,USD,GBP
Data Type
A Data Type is a structured record — a named group of named fields, each with its own type. Data Types compose: a field on a Data Type can itself be a Value Type, another Data Type, or a list of either. Examples:Customer— a record withid,name,email(whereemailis theEmailValue Type)OrderLine— a record withproductId,quantity,unitPriceOrder— a record with acustomer(theCustomerData Type) andlines(a list ofOrderLine)
Creating a type
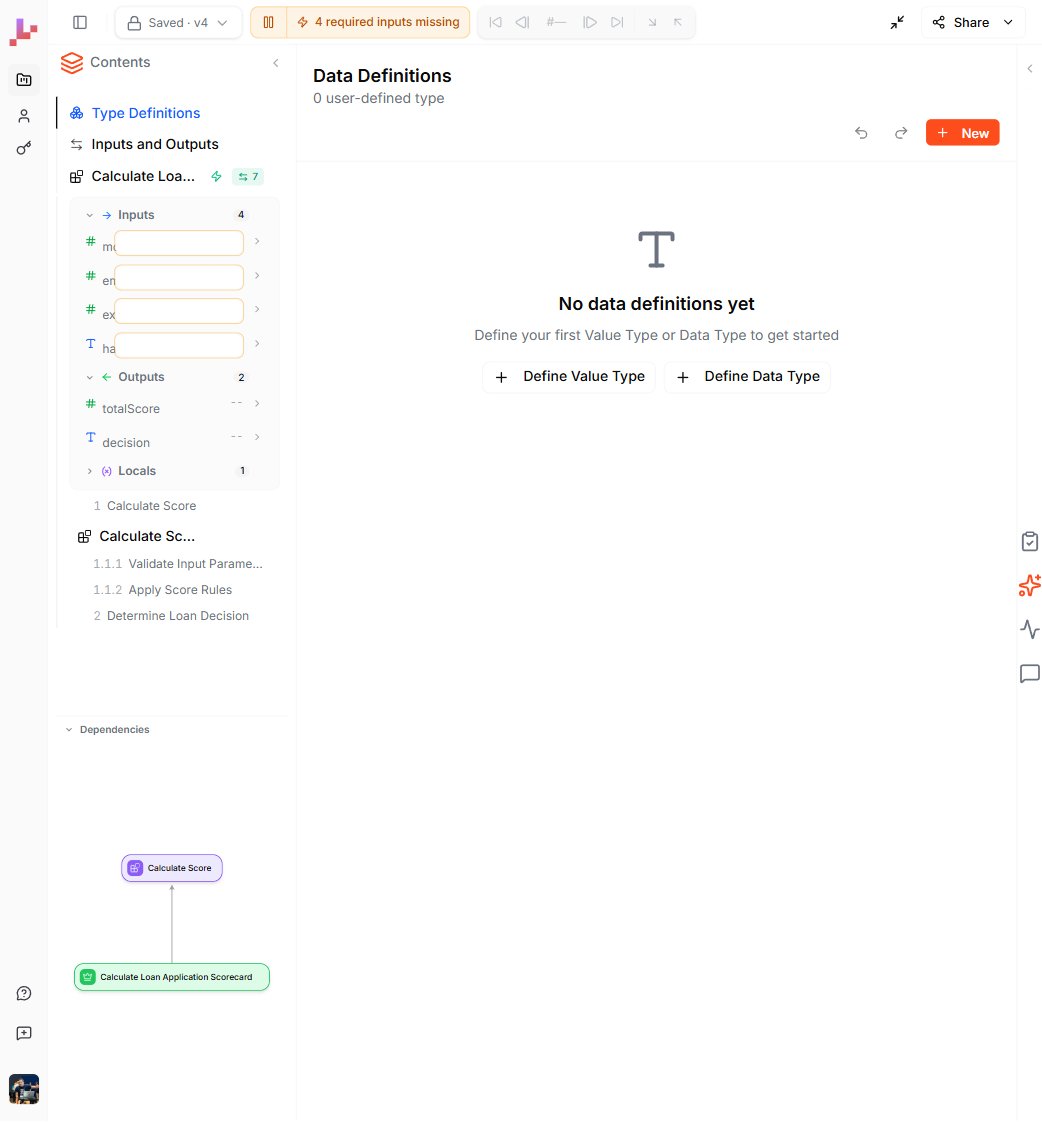
- Open the Type Definitions editor (double-click Type Definitions in the Contents sidebar).
- Click + New and choose Define Value Type or Define Data Type.
- Give the type a name and configure it:
- For a Value Type, pick the base primitive (string, number, boolean, date) and add constraints (allowed values, regex, min / max).
- For a Data Type, add fields. For each field, pick its type — primitive, an existing Value Type, an existing Data Type, or a list.
- Add a description so the type’s purpose is obvious to anyone reading the project.
Using a type
Once defined, a type appears in every type-picker in the project:- In Inputs and Outputs, when picking the type of an input or output.
- In a Blueprint’s local variables, when picking the type of a local.
- In Call nodes, when the called Blueprint expects an input or returns an output of this type.
Customer tells the reader more than three separate string fields ever could.
Why types help
- One source of truth — change the rules once and every parameter that references the type updates with it.
- Better AI generation — when you ask AI to create or edit a Blueprint, named types let AI reason about your domain (“an
Orderhaslines”) rather than guess from primitives. - Better runtime validation — Value Type constraints reject malformed inputs at the boundary, before any logic runs.
- Better readability — a Specification view that mentions
CustomerandOrderreads like business prose; one full ofstring,string,stringdoes not.
Tips
- Start without types. New projects don’t need them — primitive inputs work fine. Reach for Type Definitions when you notice the same shape repeating.
- Name them after domain concepts, not implementation.
Customeris better thanCustomerObject;Emailis better thanEmailString. - Compose, don’t duplicate. If two Data Types share fields, extract a third type for the shared shape.
What to do next
- Inputs and Outputs — apply your types to the project’s parameters
- Specification view — see how types appear in the structured document
- Calling Other Blueprints — pass typed values between Blueprints